Do you want to share your idea,thoughts on your personal Blog?and you are thinking that how to make and write a Blog.I will tell you how to write a blog with Google Blogger. If you haven’t set up your blog yet, please read How To Start and Setup a Blog. Your blog can be anything from on any topic. I am not going to help you decide what to write about, I will tell just how to do it.Here is Step by Step guide to write your own Blog without any special training.Just checkout this.
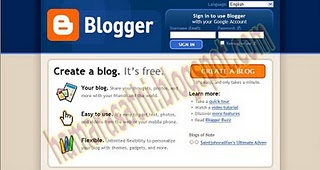
(1) Log in to Blogger. Go to www.blogger.com and log in using your Google account ID(mostly same as your Gmail ID).
(2) You will reach at the dashboard after logging in.Click on Create you Blog Now Tab.
(3) A screen appears, fill information your blog name and blog url and click continue.
(4) Then choose a template for your blog(you can change it anytime in future)
(5) You will find screen saying “Your blog has been created!” and a tab appears “start blooging” Click on that link and you will reach to write a blog post.
(6) You will reach New Post Tab,You can also reach here by clicking “New Post” link on your dashboard. This will bring up a text edit box similar to new email compose box.
(7) Write your title in title box. If you are interested in getting visitors from search engines, word your title to be what would be searched that your blog would answer.
(8) Write the body. In the top right corner of the text box you have two tabs labeled “Edit HTML” and “Compose.” Edit HTML gives you freedom of the format of the body of your blog post.But it is not recommended unless you have some understanding of HTML. The compose tab is a WYSISYG (what you see is what you get) format.
(9) Now to add clickable links into your blog using the Compose editor, highlight the words that you want to be the link and click the tab in the bar at the top of the. This opens a box for you to type the destination URL (web address) of the link.It can be either web link or can be email link.
(10) Add pictures tab is just next to link tab. Pictures make your blog much more exciting. The tabs for these are shown with arrow. Photos is a landscape looking tab. Click the tab and upload the photo or enter the URL of the photo location.
(11) Add Video tab is just next to Pictures tab.Video makes your blog look live with your contents.Click the tab and upload the video from the its location.
(12)You can check your spelling mistakes by clicking on spelling check tab on toolbox.
(13) Now if you are thinking that how to add labels or tags to your post?,You can add labels or tags to your post so that search engine can easily find your post.These labels should separated by comma.
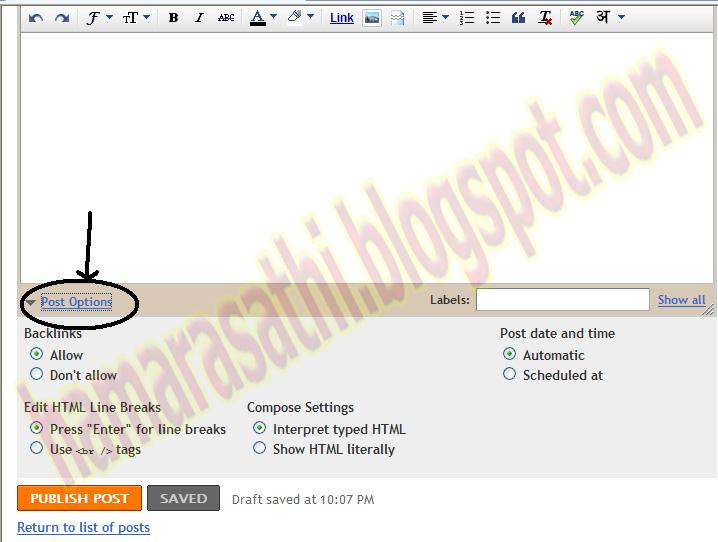
(14) You can edit post options before submitting the post.To do this see left bottom area of post and click on “Post Options” Tab.Here you can modify your post date and time,back link or html related options.
(15)Now Click the “Publish Post” tab to post your blog to the internet. Now anyone can view these posts by enter your blog URL in browser.
(16) If you find any error in your post.You can edit any post by clicking “Edit Post” Tab.This tab is just right to “New Post” Tab.
(17)Now enjoy with your blogging world.